To ensure smooth operation, the site owner should configure cron jobs. Please follow the instructions in our documentation here.
Step 1: Connecting Social Media Platforms
Each user can connect the social media platforms they need for scheduling posts. Currently, we support Twitter and LinkedIn.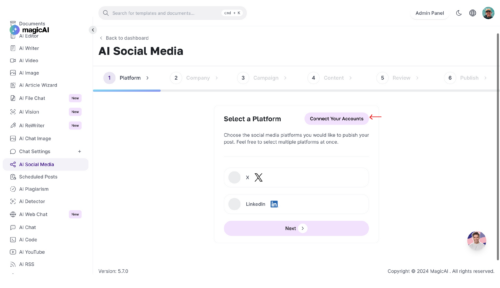
Connecting LinkedIn
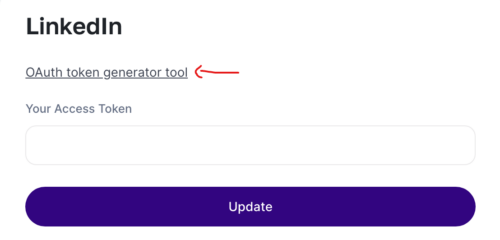
- Click on the OAuth token generator tool link.
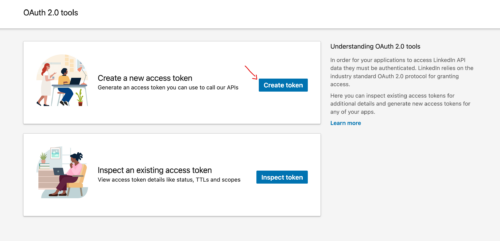
- Generate an OAuth token by creating a new access token in the “Create a new access token” menu after setting up your app.
- Select the following scopes:
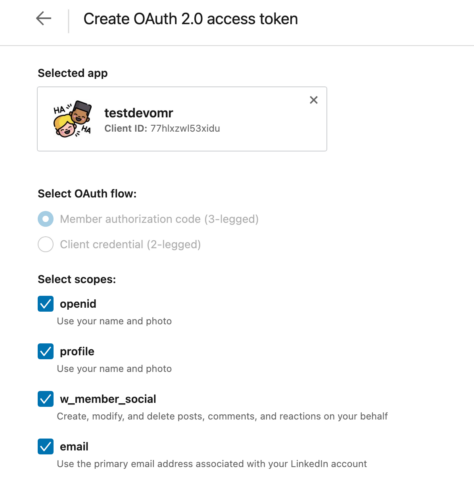
- openid (Use your name and photo)
- profile (Use your name and photo)
- w_member_social (Create, modify, and delete posts, comments, and reactions on your behalf)
- email (Use the primary email address associated with your LinkedIn account)
- Click on the “Request access token” button.

- If you encounter issues with token generation, try using a different browser.
- Copy the generated token and paste it on the LinkedIn connect page.
Connecting Twitter
- Follow the steps outlined here to obtain the necessary credentials:
- API Key
- API Key Secret
- Bearer Token
- Access Token
- Access Token Secret
- Client ID
Step 2: Setting Brand Voice
After connecting your platforms, ensure to enter your company and service/product information in the brand voice page. This will personalize AI-generated social media content.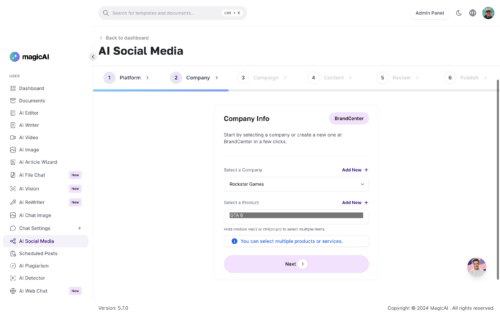
Step 3: Creating Campaigns
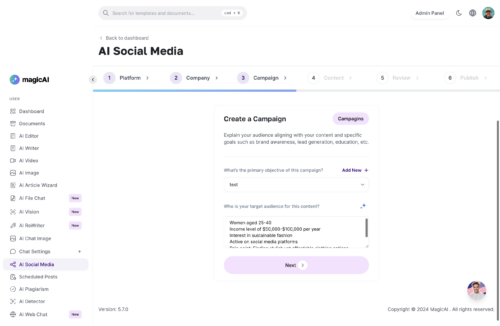
- Navigate to the campaign creation section.
- Define your campaign objectives, target audience, and content themes.
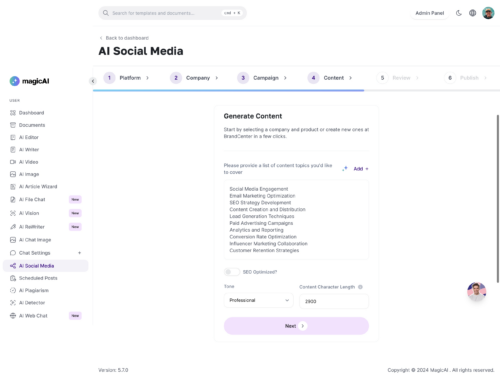
Step 4: Reviewing Posts

Before scheduling, review the example posts generated by the AI to ensure they align with your brand voice and objectives.
Step 5: Scheduling Posts
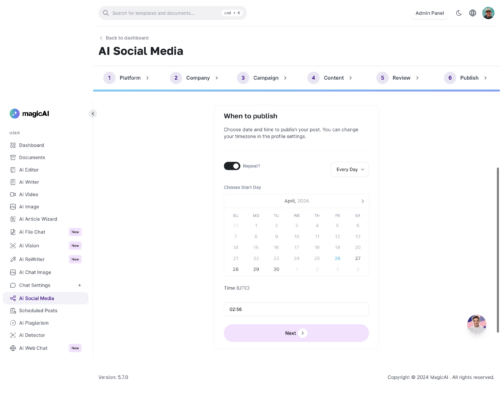
- Set schedules for posting, including daily, weekly, and monthly frequencies.
- Adjust posting times based on the appropriate time zone. Note that some time zones may have a variation of up to -3 hours.
That’s it! You’re now ready to utilize the AI social media extension effectively.