- Unzip the file you downloaded from CodeCanyon to any directory on your computer.

- Connect to your hosting or server using cPanel, Plesk, or other control panels.
- Open File Manager and navigate to the root folder of your domain. For example, it may be “public_html” in cPanel and “httpdocs” in Plesk.
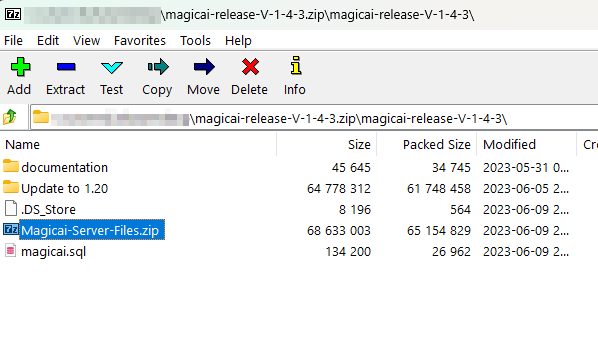
- Upload the file “Magicai-Server-Files.zip” to the root folder of your domain.
- Extract the contents of the “Magicai-Server-Files.zip” file into the root folder.
You are now ready to install the script.
Follow the steps below:
- Go to:
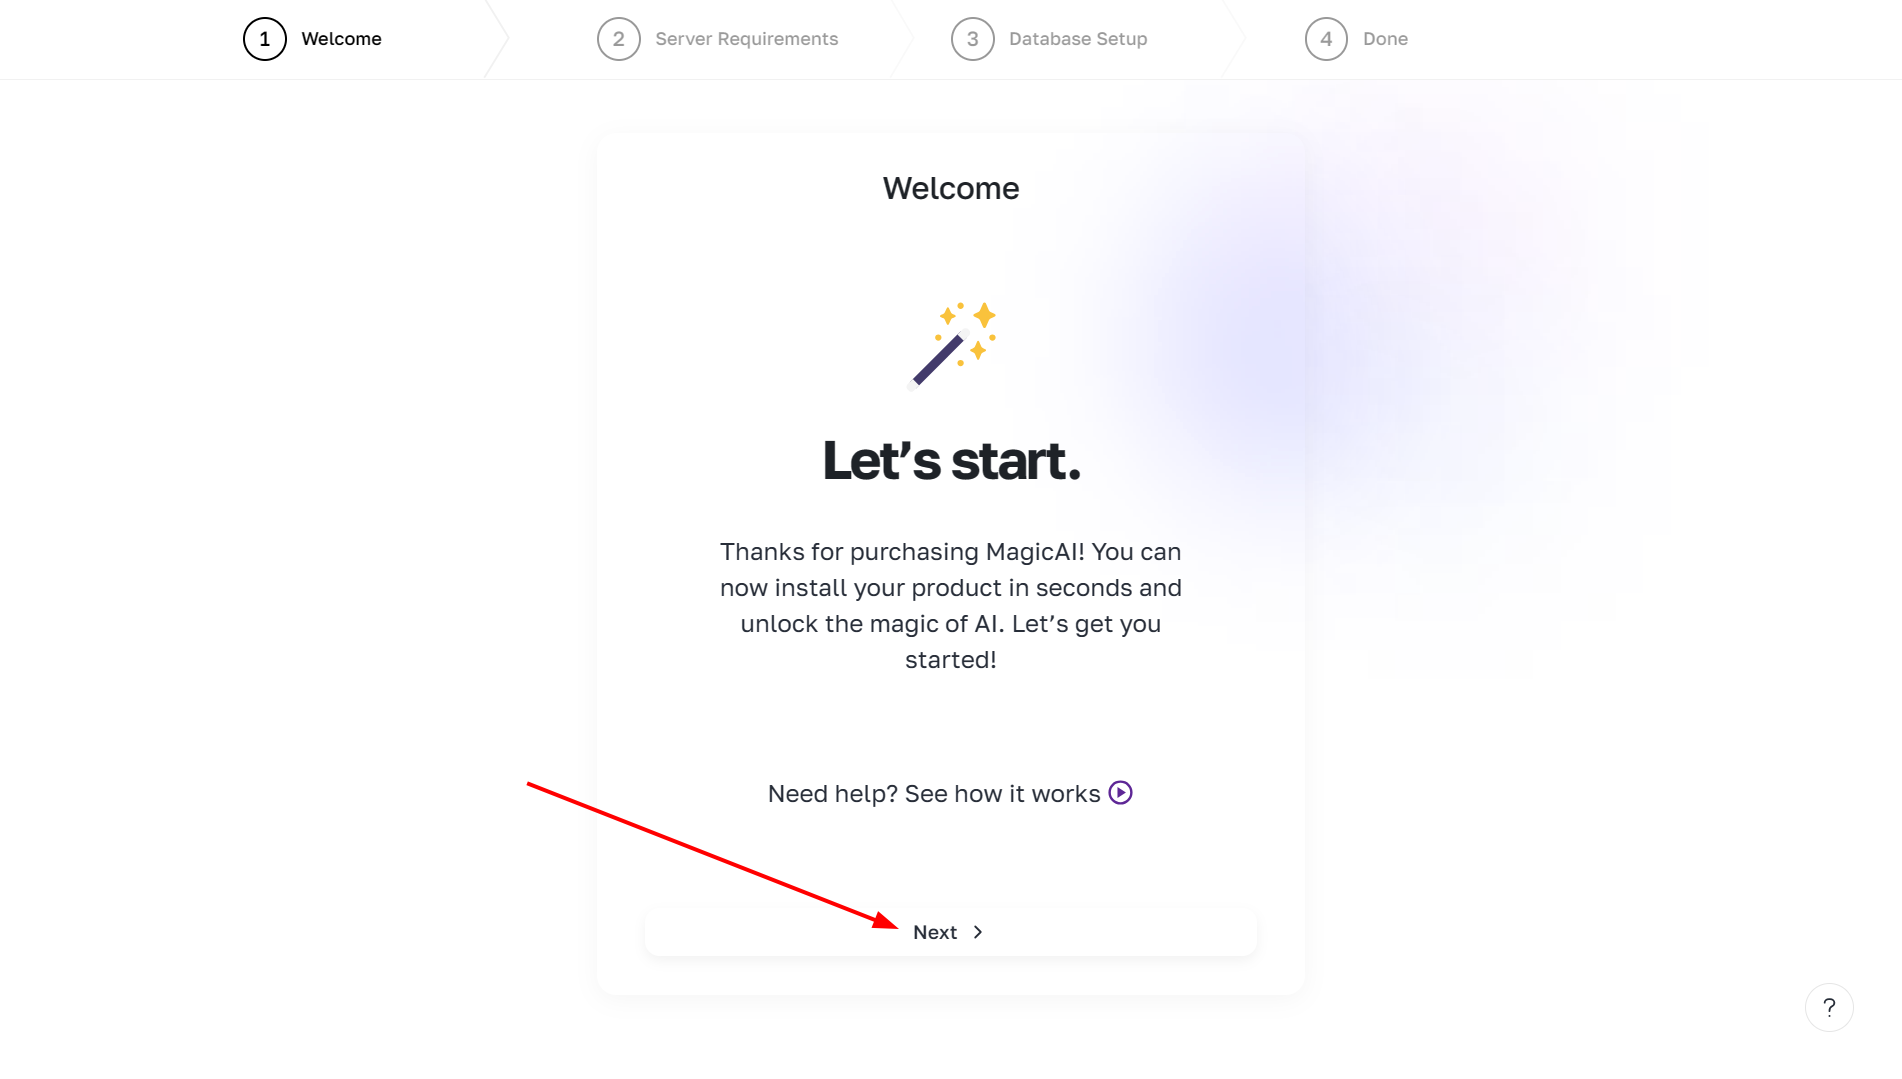
https://yourdomainname.com/install - You will see the welcome screen of MagicAI’s setup wizard. Click Next to continue.

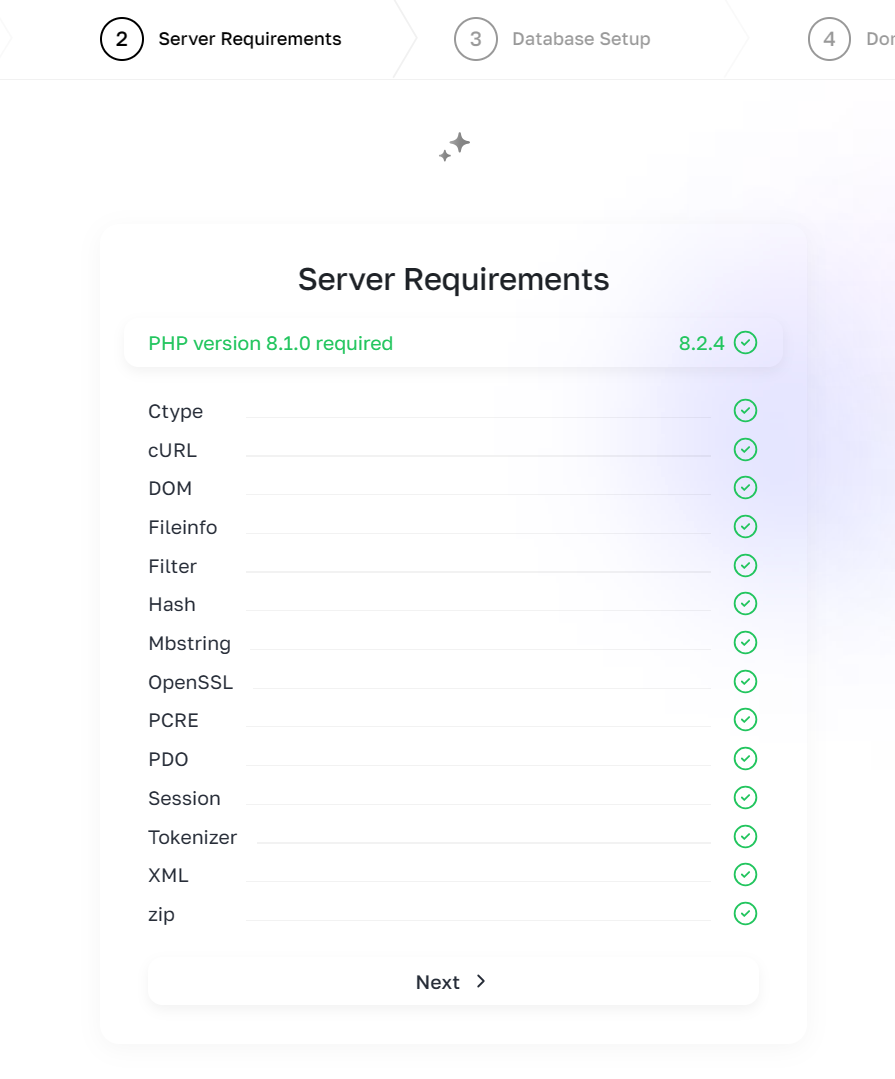
- In the Server Requirements step, you can see if your server meets MagicAI’s requirements.
If all requirements are checked, you are ready to move on to the next step. Click the Next button.
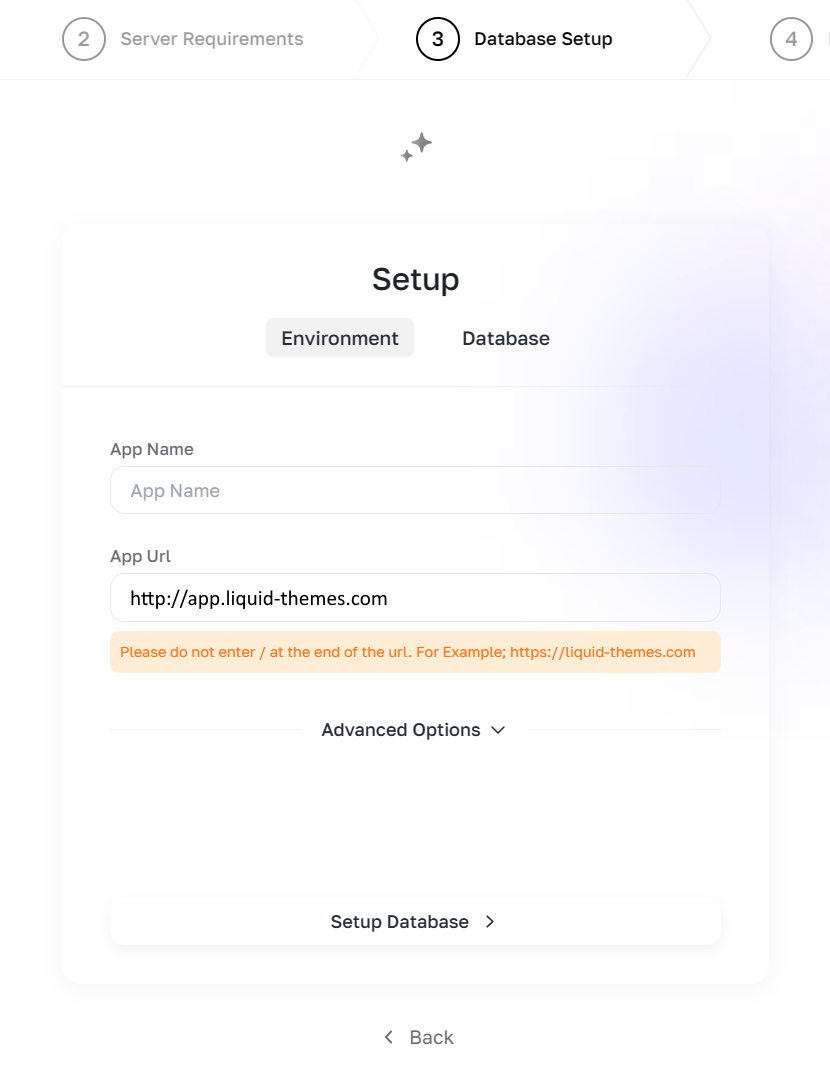
- In this step, you will enter your site’s information.
– App Name: Enter the name of your site/project in this field.
– App URL: Enter the URL of your site/project in this field. Please enter it as: https://yourdomain.com and do not add a “/” at the end.
– Advanced Options: These options are for advanced users, if you’re not sure what they are, you can leave them as is.
After filling all the fields, click the Setup Database button.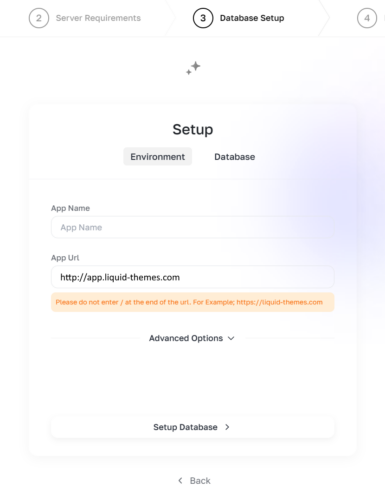
- In this step, you will enter the information of the database you created here.
– Database Connection: Choose your database connection type.
– Database Host: Enter your database host address. By default, it is 127.0.0.1 or localhost.
– Database Port: Enter the access port of your database. By default, it is 3306.
– Database Name: Enter the name of your database.
– Database User Name: Enter the username of your database.
– Database Password: Enter the password of your database.
After filling all the fields, click the Install button.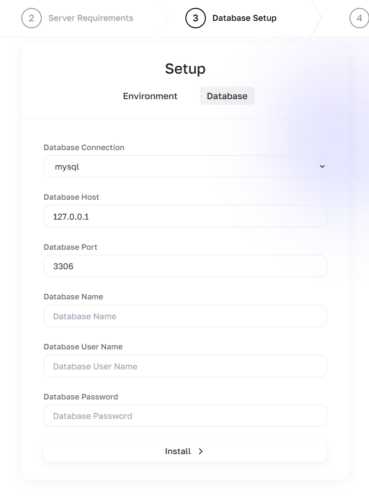
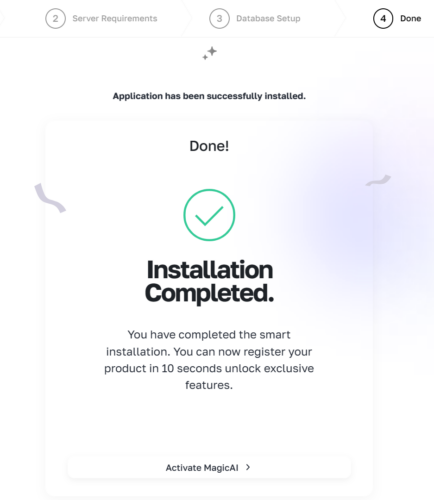
- If the installation completes successfully, you will see the Installation Completed screen. By clicking the Activate MagicAI button, you can log in to your dashboard and perform the activation.


Default login credentials:
Email: [email protected]
Password: 12345678
- Extract MagicAI to your site’s home directory by following the steps here.
- Create a database by following this step
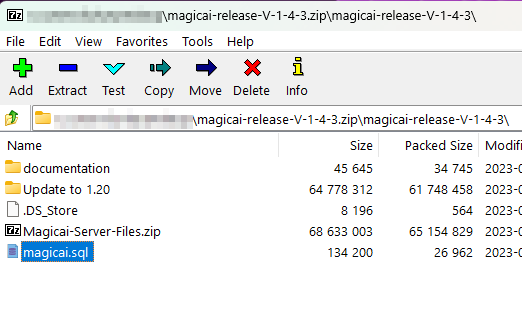
- Import the magicai.sql file in the zip file you downloaded from CodeCanyon to the database you created, via phpMyAdmin.

- Open the .env file in the MagicAI root directory with a text editor and enter the relevant data.
Example .env file:
APP_NAMEYour website's name. If there is spaces add it between ". "Magicai Ai Writer"
APP_URLYour website's full url without "/" at the end. For example; https://liquid-themes.com
DB_DATABASE:Your database table's name.
DB_USERNAME:Your database table's user name.
DB_PASSWORD:Your database table's password.And add your SMTP details:
MAIL_HOST
MAIL_PORT
MAIL_USERNAME
MAIL_PASSWORD
MAIL_ENCRYPTION
MAIL_FROM_ADDRESS=”[email protected]”
MAIL_FROM_NAME=”${APP_NAME}” - Save the .env file.
- That’s all!
Default Login Credentials:
Email: [email protected]
Password: 12345678