If you are a beginner and have never worked Microsoft Azure before, you will need to create your account first.
- Everything is ready to begin the process of getting the key. Visit the Azure services to Create a resource.

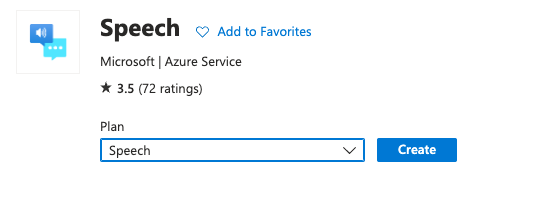
- Search for “Speech” service and select it.
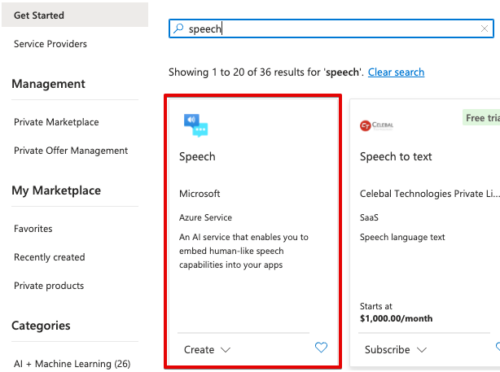
Click Create button
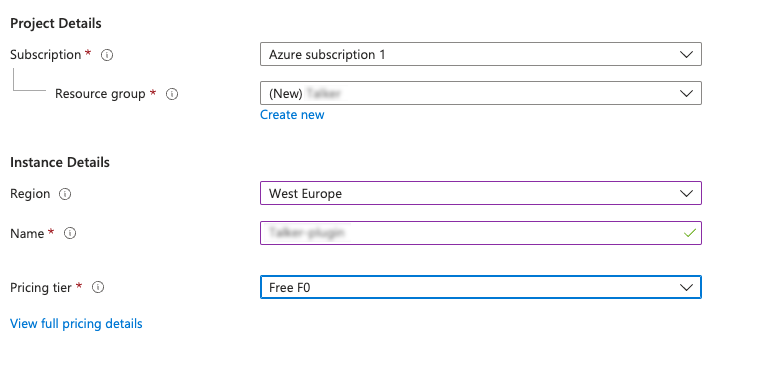
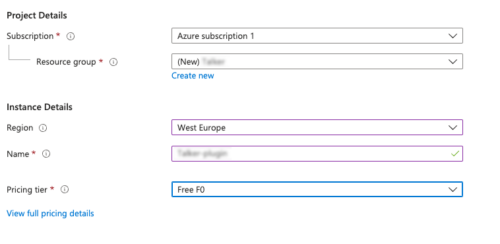
- Fill in all fields:
- Subscription – you can find the list in the Subscriptions item on your Azure Home page.
- Resource group – select one of the available groups from the list. Add a new one by clicking on the Create new button under the current field or via the item Resource groups on your Azure Home page. Read more about resource groups in the documentation.
- Region – Choose the region that is right for you or your customers. Not all resources are available in every region.
- Name – name of your resource.
- Pricing tier – the pricing tier you select determines how much you will be billed each month. You can set it to “Free F0” to use the resource without a fee. To manage your billing go to Cost Management + Billing.
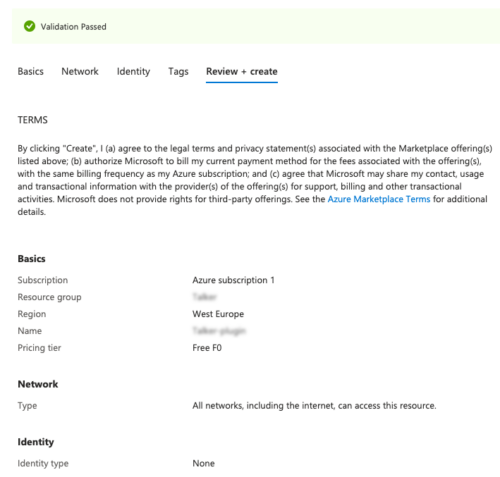
Once all fields are filled, click Review +create.
- If everything is correct, you will see a notification about correct validation. Click Create button at the bottom of the windows.
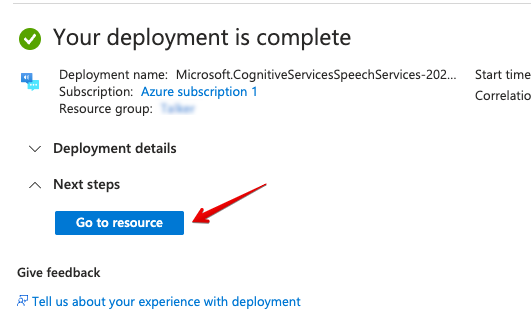
- Here it is! Your deployment is complete. Click Go to resource to see your keys.
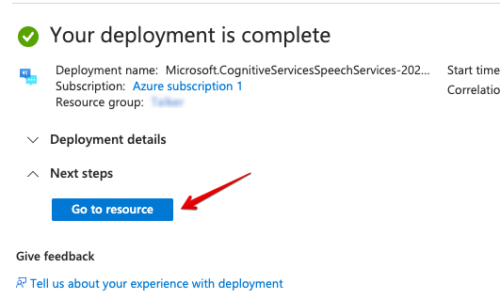
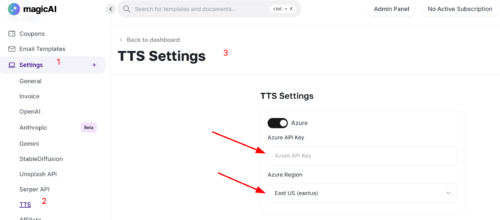
- Copy your KEY 1 and remember your Location/Region.
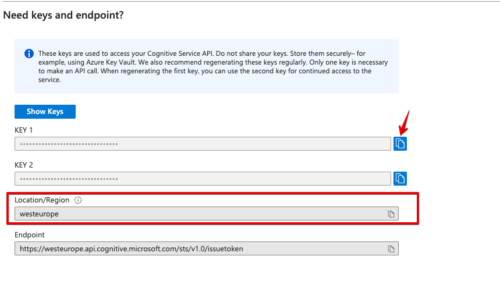
- Go to the MagicAI settings > TTS where you have to paste your API key and select appropriate Region. Save all changes.