Skip links
🔧
Need help with installation?
Send an email to [email protected] to get a quote.

Google AdSense Setup

Table of Contents

Maximizing Revenue: A Step-by-Step Guide to Adding Google AdSense to Your MagicAI

Google AdSense, a popular advertising platform, can help you generate revenue through targeted advertisements. In this article, we'll walk you through the process of seamlessly integrating Google AdSense into your Magicai. Let's get started!

What is Google AdSense?

Google AdSense is a program that allows website owners to display relevant ads on their sites and earn money when visitors interact with these ads. It's a fantastic way to monetize your website traffic without the need for direct advertisers.

Prerequisites

Before diving into the integration process, ensure you have the following prerequisites in place:

Google AdSense Account: Sign up for a Google AdSense account if you haven’t already. You’ll need this account to access the necessary tools and create ad units.

  1. Create a Google AdSense Account
    The first step in connecting your website to Google AdSense is to create an AdSense account. If you already have a Google account, you can use it to sign up for AdSense. If not, you’ll need to create one. Here’s how to get started:
    • Visit the Google AdSense website (https://www.google.com/adsense/start).
    • Click on the “Sign up now” button.
    • Follow the on-screen instructions to provide the necessary information, such as your website URL, contact information, and payment details.
  1. Add the AdSense Code to the <head></head> Section of Your Website

    Before you can proceed with creating ad units, you must add a unique AdSense code snippet to the <head></head> section of each page on your website. This step verifies your site’s ownership and ensures proper integration with Google AdSense. Copy your AdSense code snippet:


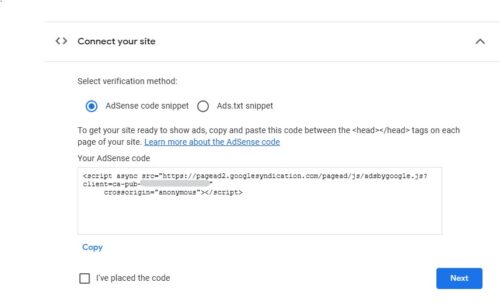
    Add this code to here:

Review and Accept Google AdSense Policies

Once your site is verified, you'll need to review and accept Google AdSense policies. These policies outline the terms and conditions you must adhere to as an AdSense publisher. It's essential to understand and comply with these policies to ensure a smooth and sustainable partnership with Google.

Set Up Your Payment Information

To receive earnings from Google AdSense, you'll need to configure your payment settings. Google offers various payment methods, including direct bank deposit, checks, and wire transfers, depending on your location. Provide accurate payment information to ensure you receive your earnings on time.

Generate Ad Units

After adding the AdSense code to your website’s <head></head> section and completing the verification process, it’s time to generate ad units that you can place on your site. Ad units are specific sets of ads that you can customize to match the look and feel of your website. To create ad units:

  1. In your AdSense account, navigate to “Ads” in the left-hand menu.
  2. Click on “Ad units.”
  3. Click the “+ New ad unit” button.
  4. Follow the prompts to customize your ad unit, including choosing ad types, sizes, and colors.

Place Ad Units on Your Website

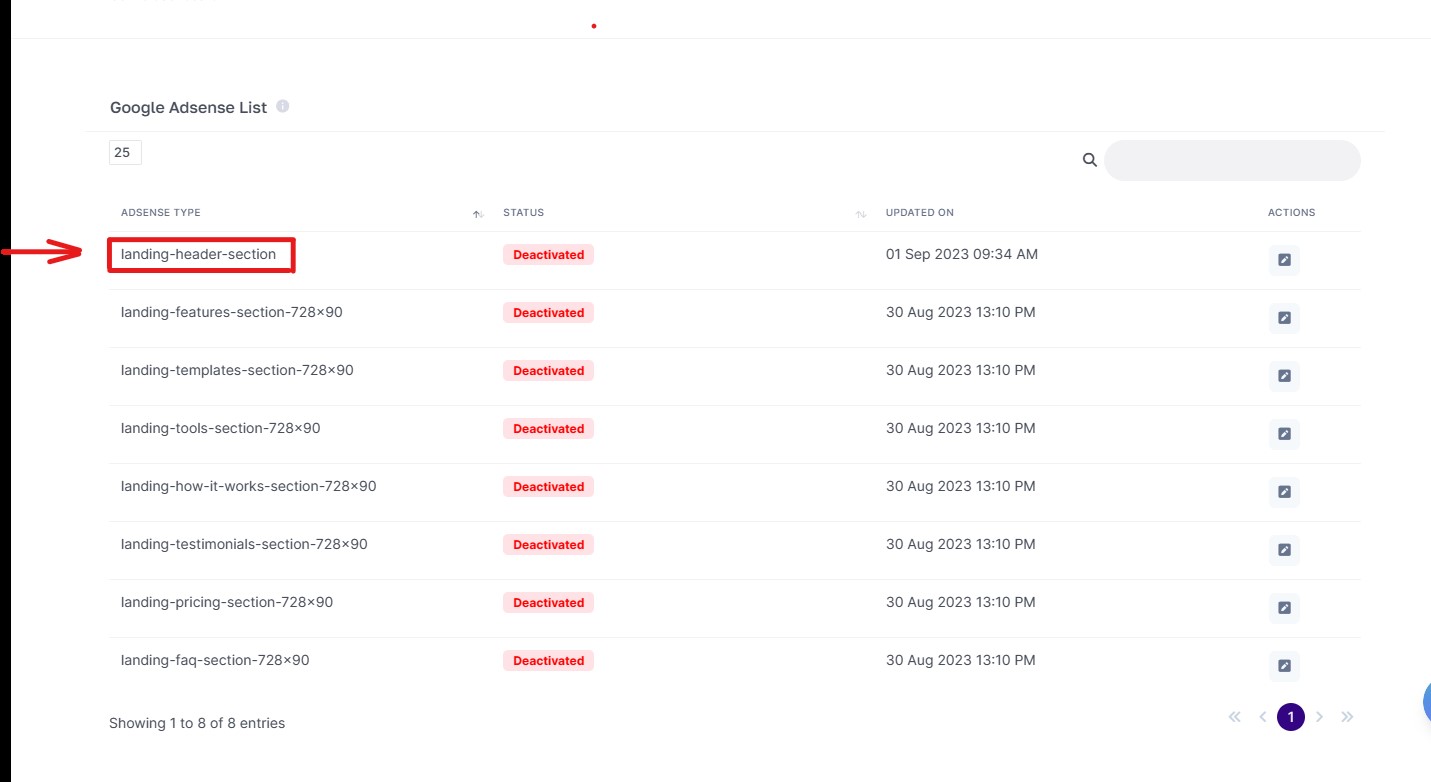
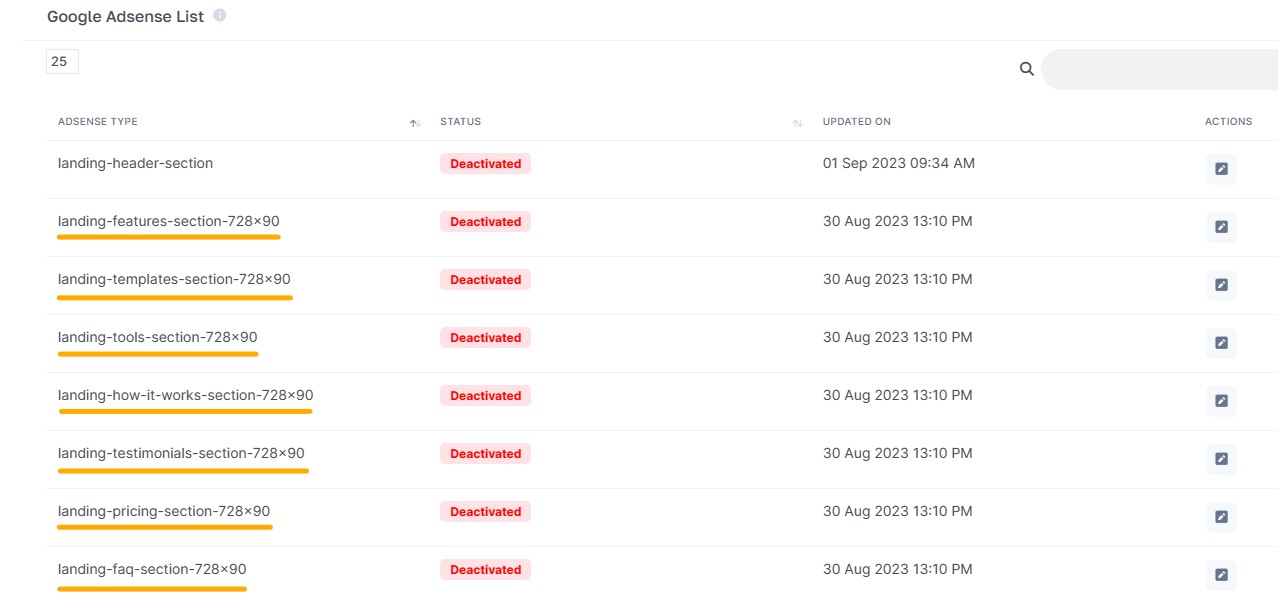
Once you’ve created ad units, you can place them on your website. You can insert the ad code into various locations, such as the header, sidebar, or within the content, based on your preferences. Google AdSense provides detailed instructions on how to implement ad code on your website.

Monitor Your Ad Performance

After placing the ad units on your website, it's essential to monitor their performance regularly. Google AdSense provides detailed analytics and reporting tools that allow you to track clicks, impressions, earnings, and other valuable data. Use these insights to optimize your ad placement and maximize your revenue.