Step 1: Sign Up for Pusher
- Visit Pusher’s Website
- Go to Pusher’s website.
- Go to Pusher’s website.

- Create an Account
- Click on the “Sign Up” button at the top right corner of the page.
- Fill in your details such as name, email, and password, or sign up using a social media account (e.g., GitHub, Google).
- Verify Your Email
- Check your email for a verification message from Pusher.
- Click the verification link to activate your account.
Step 2: Choose the Right Product
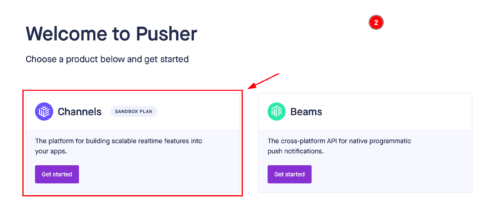
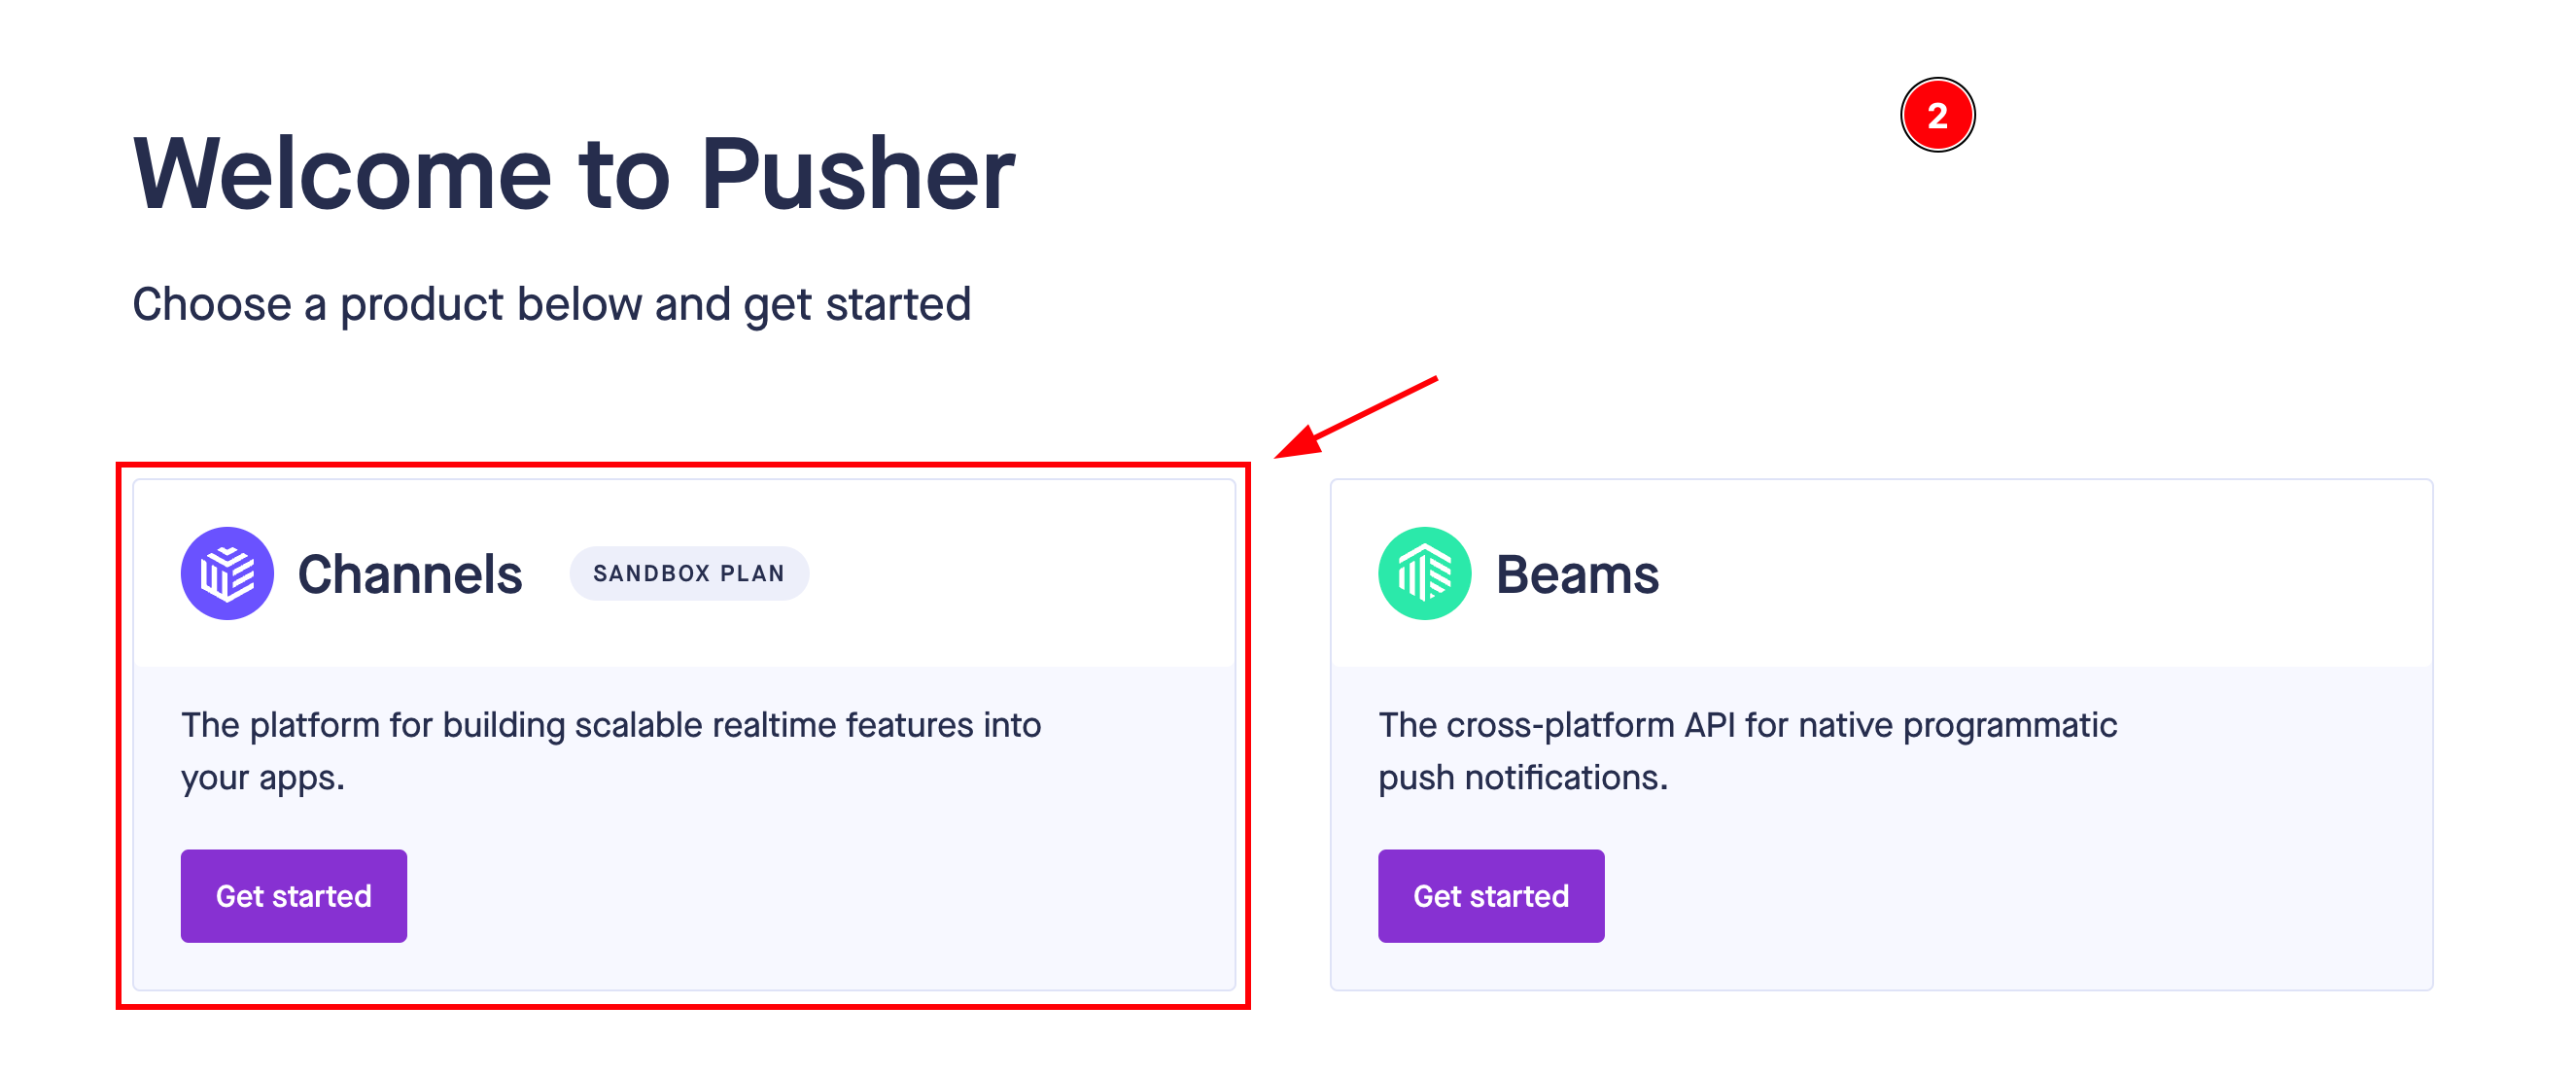
- Select a Product
- Upon logging in, you will see two categories: Channels and Beams.
- Click on the Get Started button under the Channels category, as this guide focuses on setting up real-time notifications using Pusher Channels.
Step 3: Create a New App
- Create the App
- Fill in the necessary details for your new app:
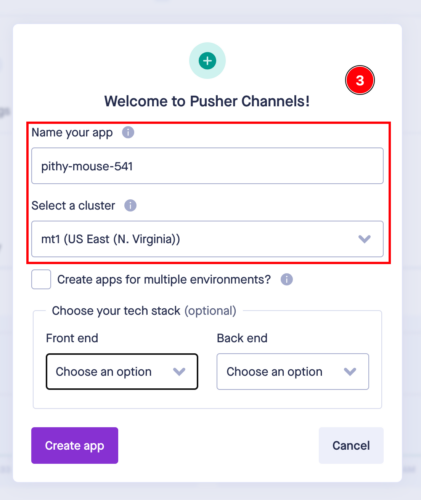
- Name: Choose a name for your app.
- Cluster: Select a cluster that is geographically close to your users.
- Fill in the necessary details for your new app:

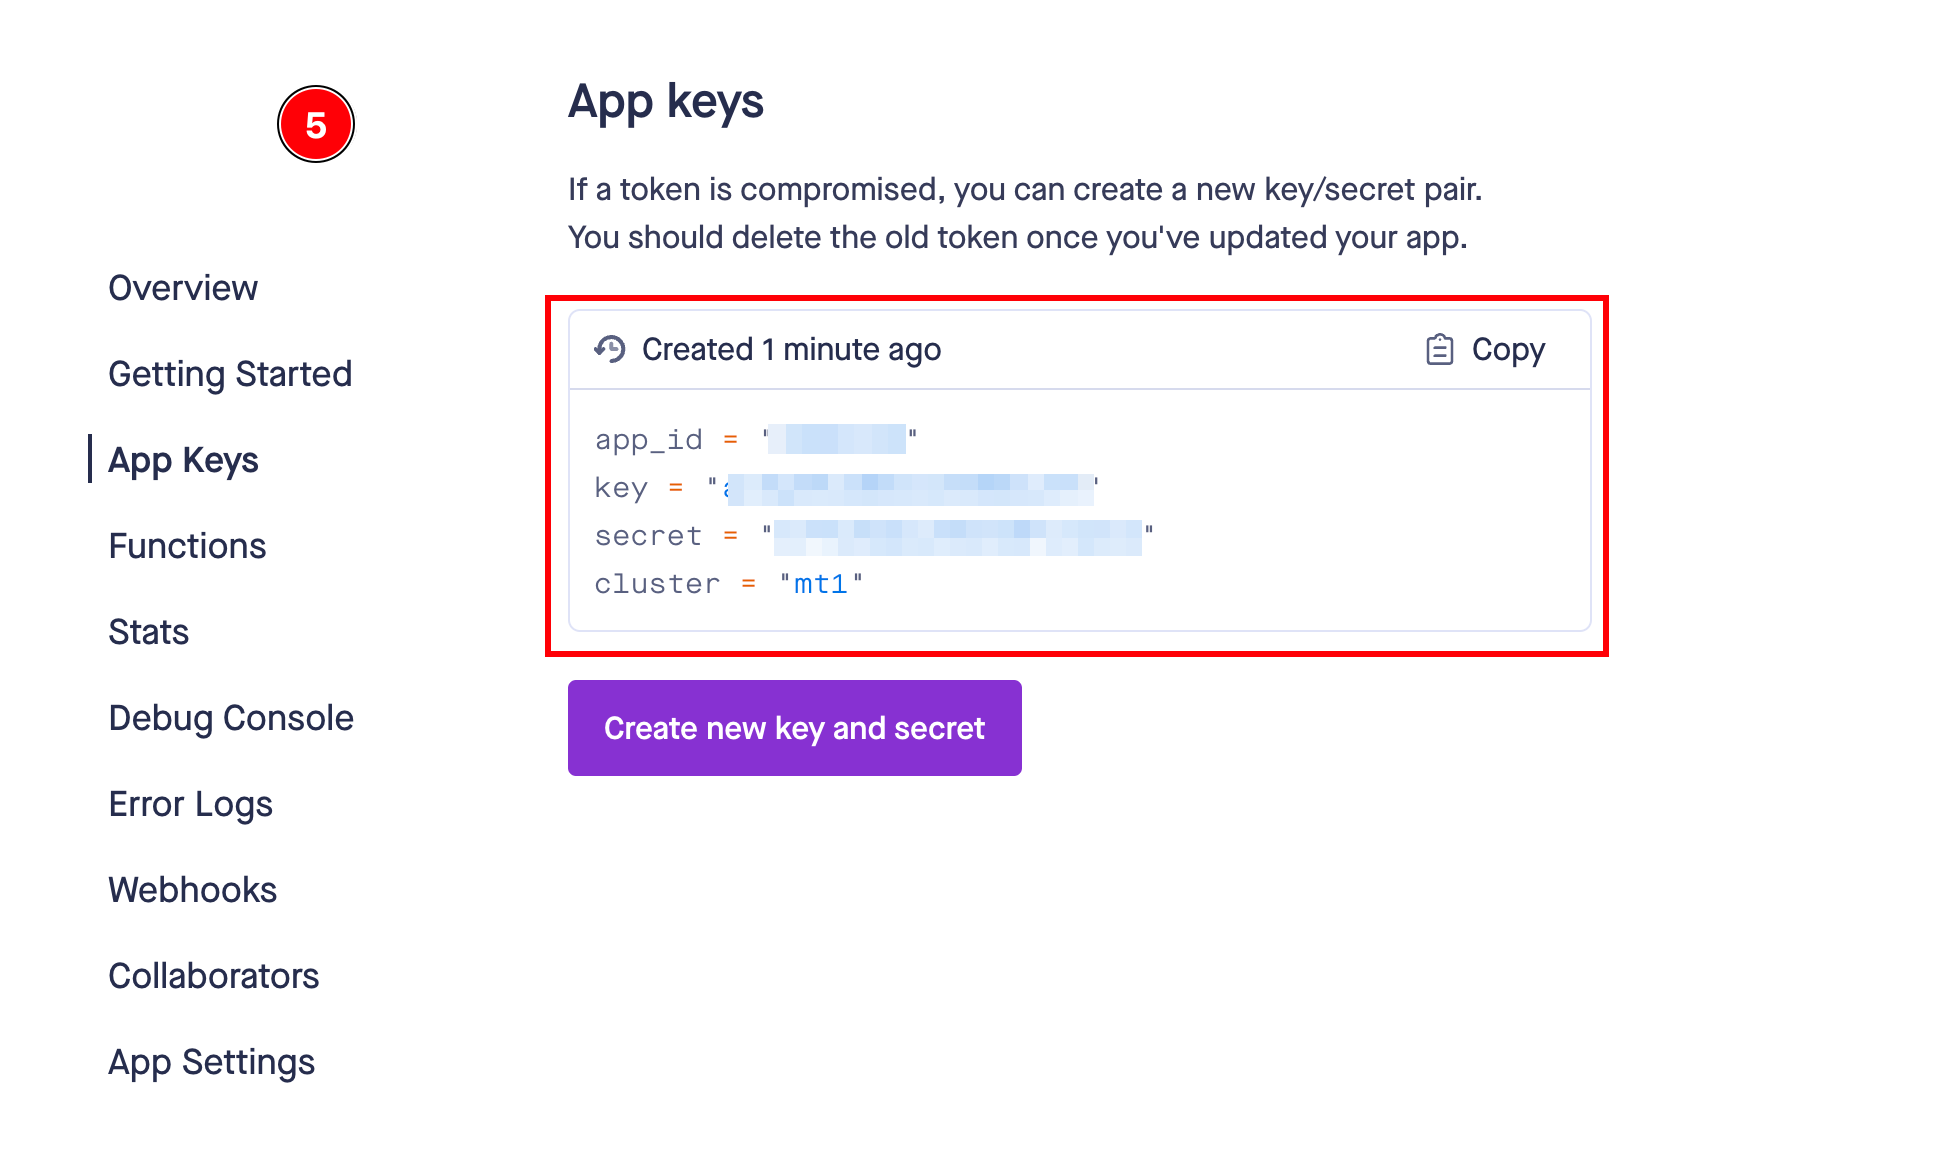
- App Credentials
- After creating your app, you will be taken to the app’s dashboard where you can see your app credentials:
- App ID
- Key
- Secret
- Cluster
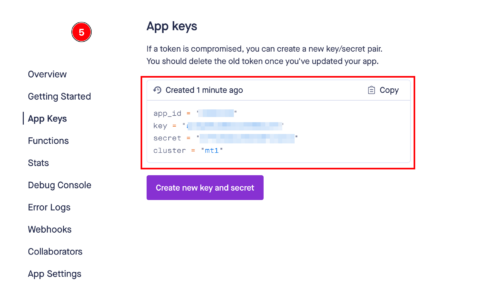
- After creating your app, you will be taken to the app’s dashboard where you can see your app credentials:
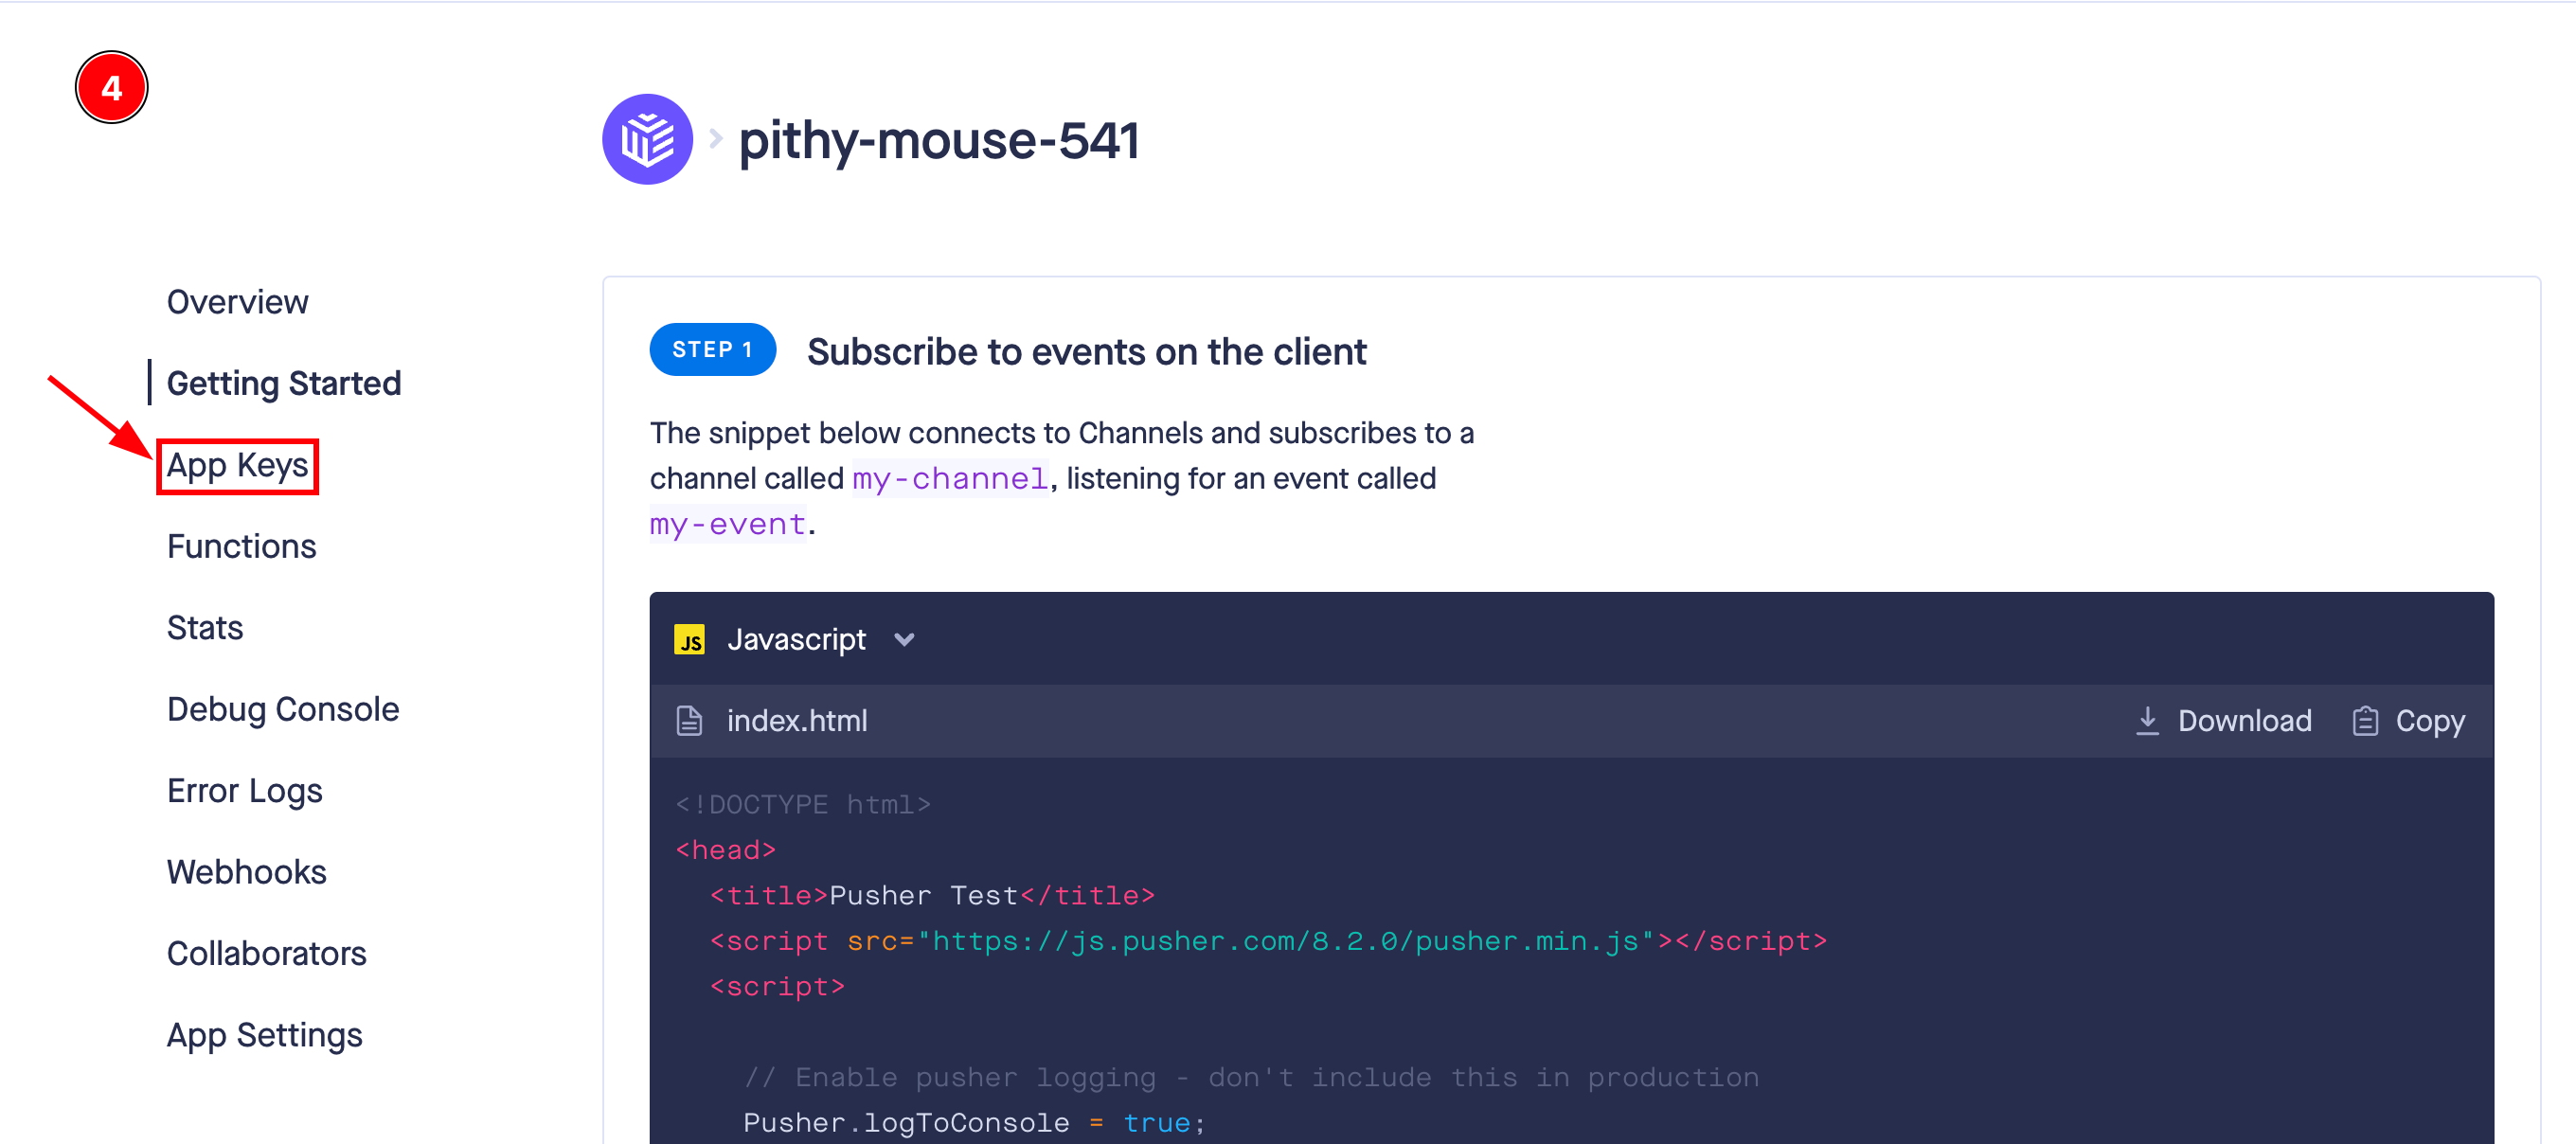
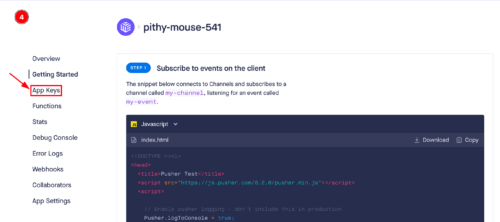
Step 4: Placing Credentials in Your General Settings Page
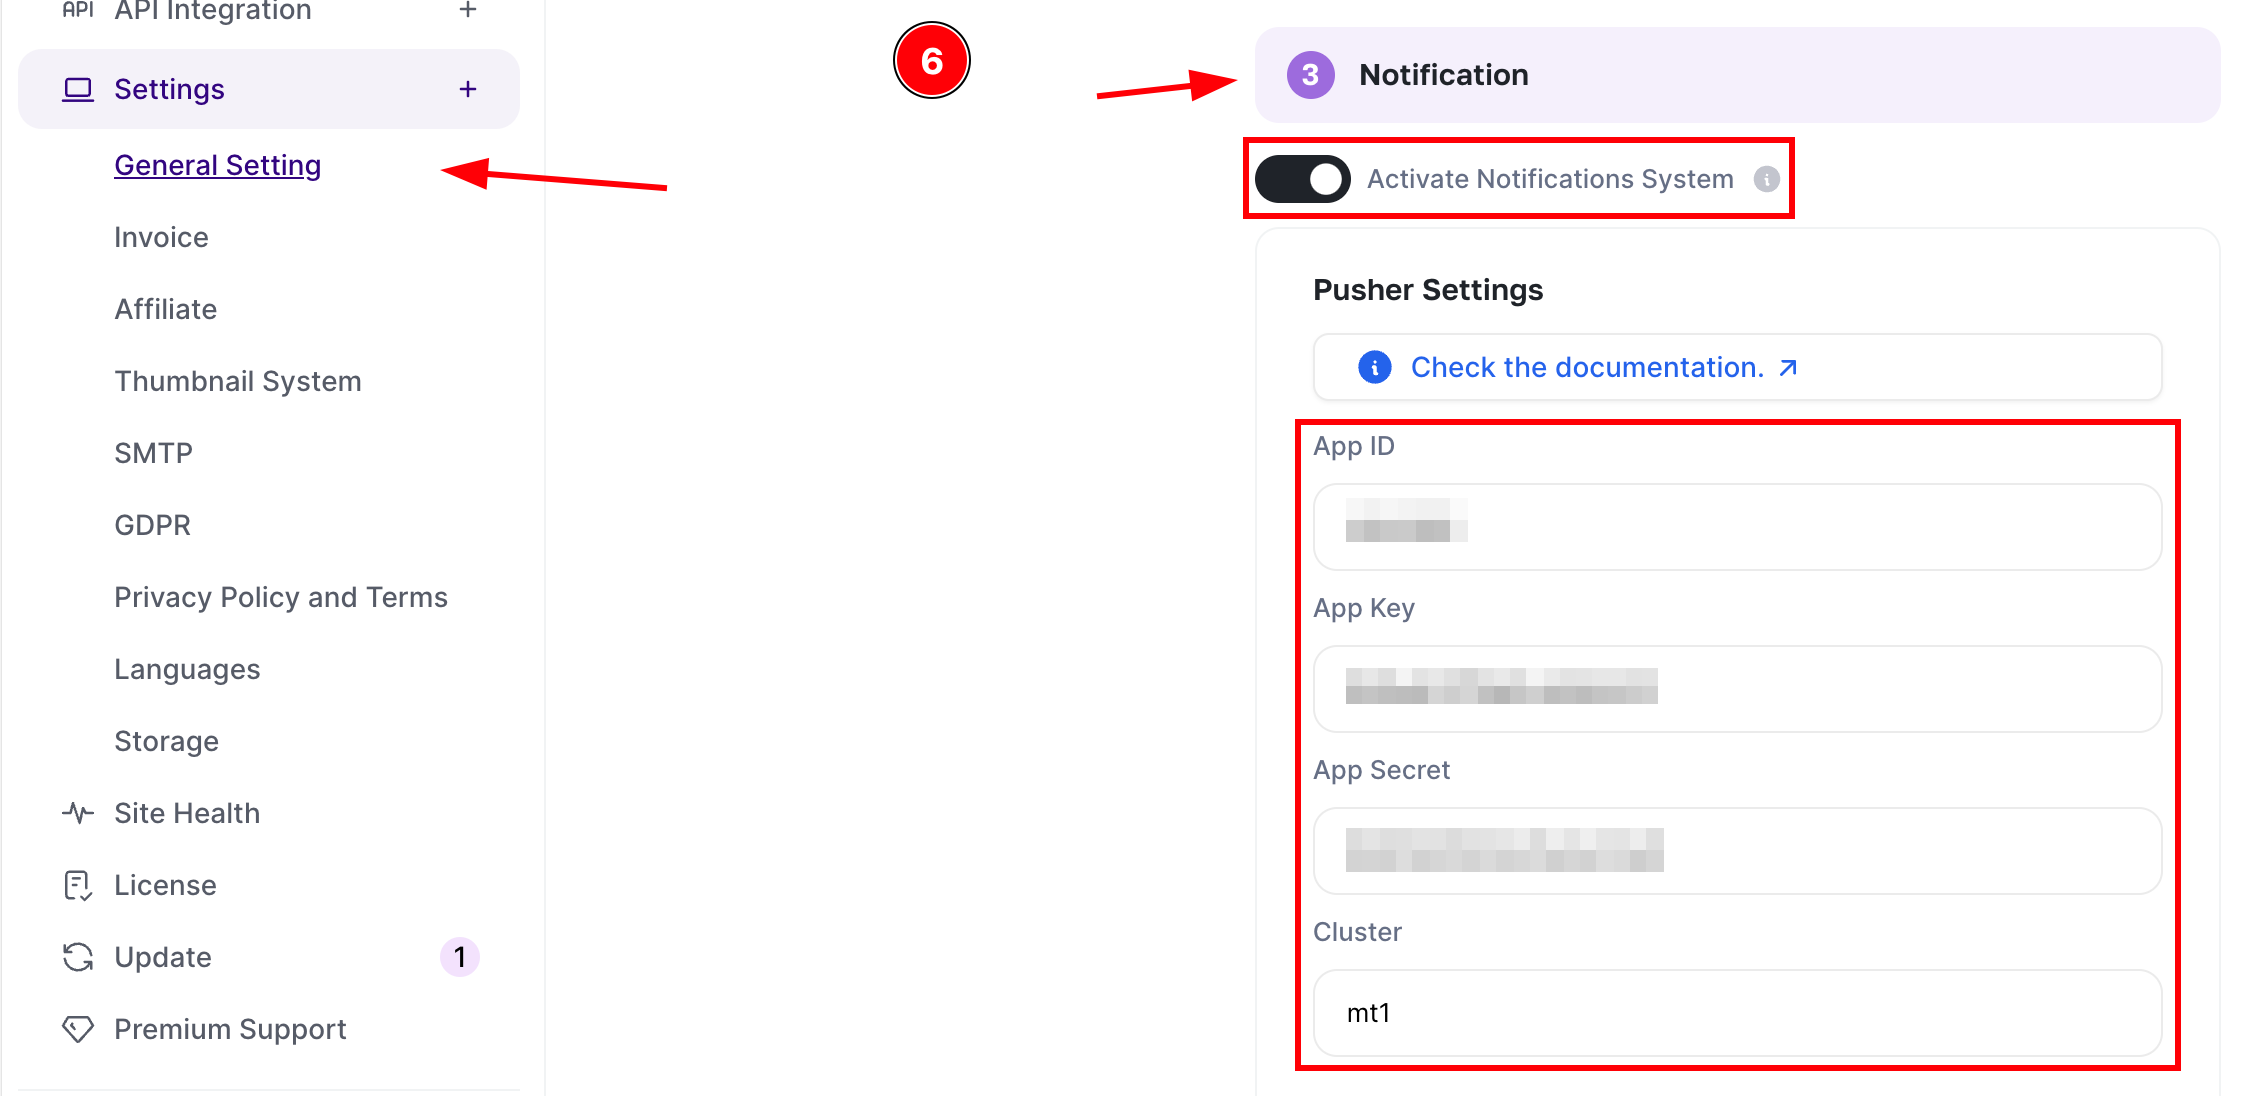
- Access Your General Settings Page
- Navigate to the general settings page of your application where you want to configure the notifications.
- Enter Your Pusher Credentials
- Locate the notifications section in the settings.
- Enter the following details:
- App ID: Copy the App ID from your Pusher dashboard and paste it here.
- Key: Copy the Key from your Pusher dashboard and paste it here.
- Secret: Copy the Secret from your Pusher dashboard and paste it here.
- Cluster: Copy the Cluster from your Pusher dashboard and paste it here.
- Save the Settings
- Click on the “Save” button to apply the changes.